
MaxDataGenius – Quick start
- Start the program (via Windows start menu->Max Data Genius) or directly, via ‘C:\Programs (x86)\Max Data Genius\mdg.exe‘ (NOTE: On some systems, it just shows ‘mdg’. That’s the executable to run).
Important note for Windows 10: You may have to allow run (right-click on executable->Properties->allow):
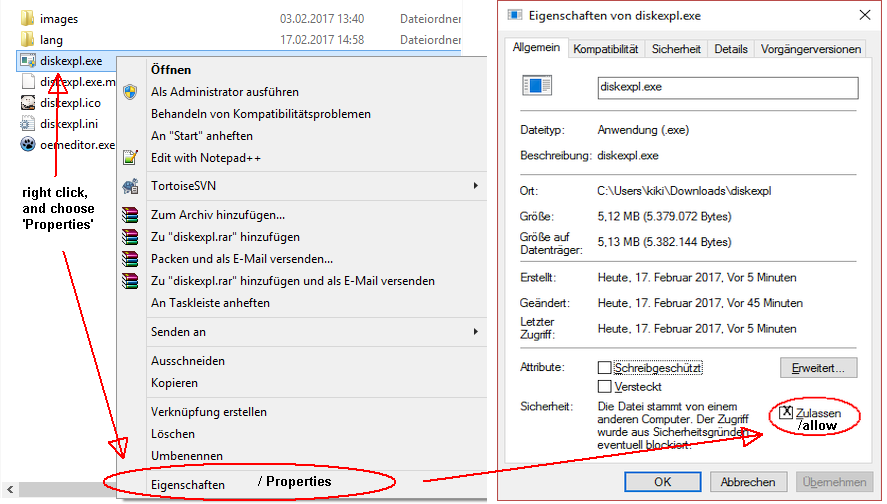
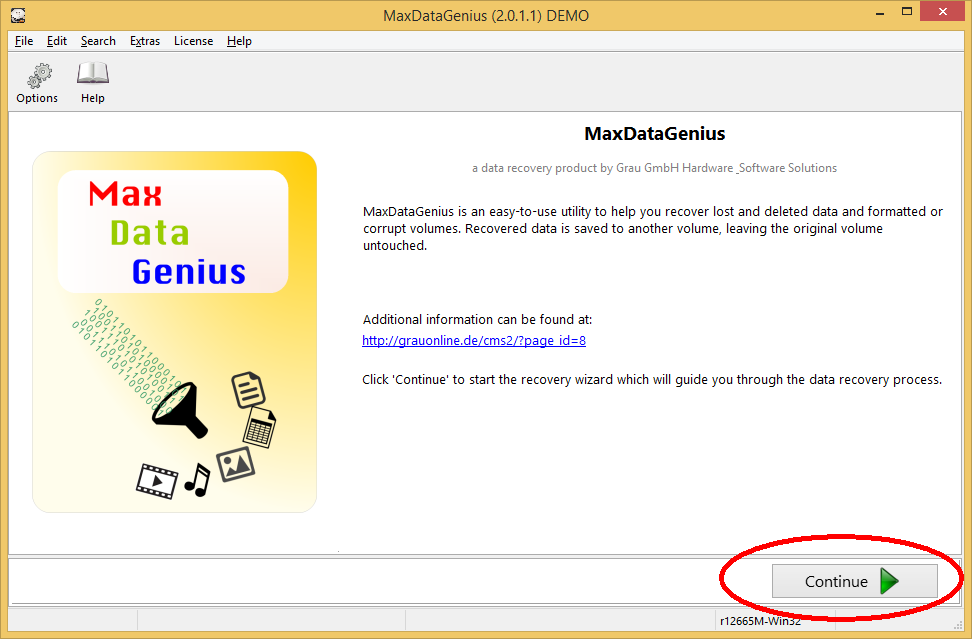
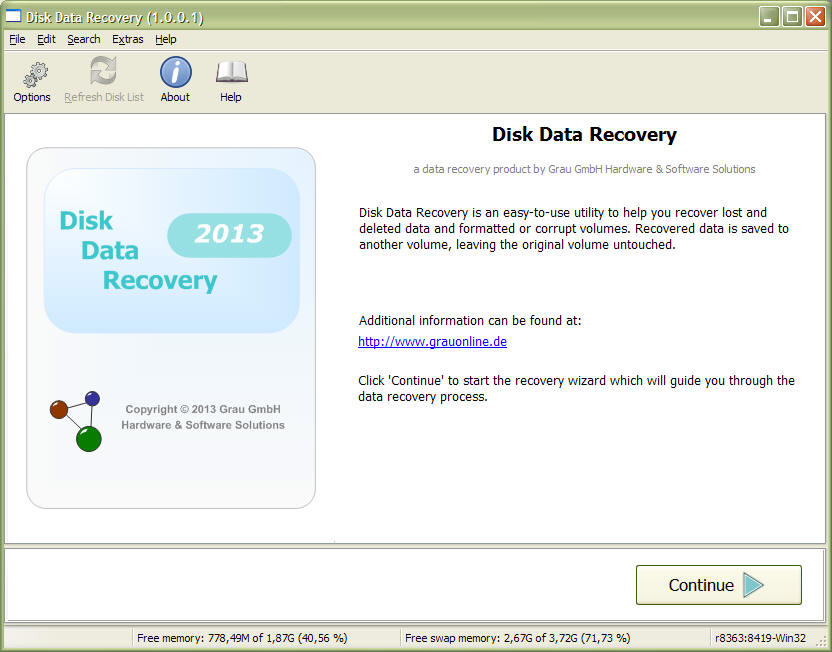
Alternatively, you can disable SmartScreen via ‘Control Panel->System and Security->Action Center->Change Windows SmartScreen settings->Don’t do anything (turn off Windows SmartScreen)’. - After the introduction screen appears, click on ‘Continue‘.
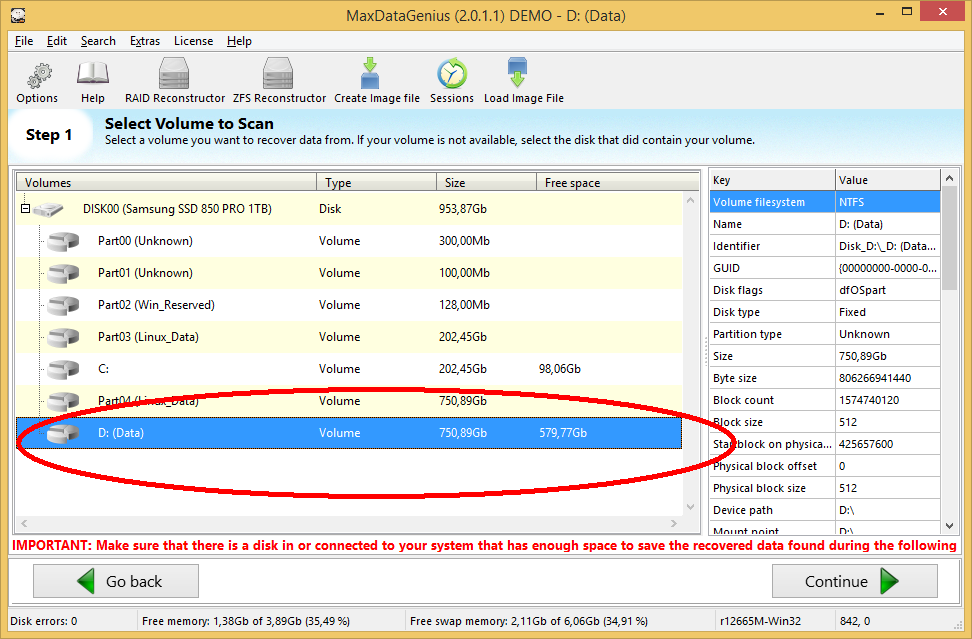
- On the next page, choose the volume you are trying to recover to files from. If your volume is too damaged, it may not be available. In that case, choose a disk that contains your damaged volume.
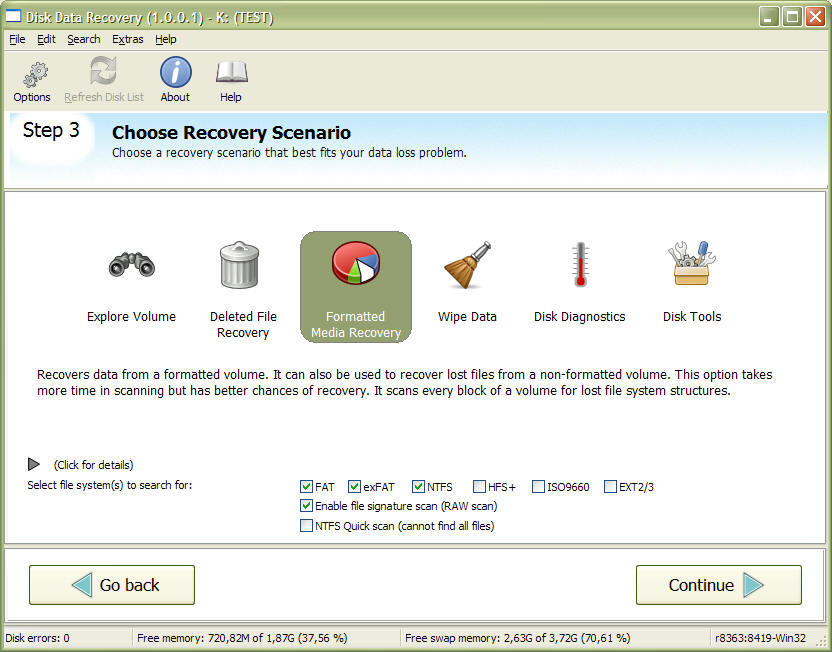
- On the next step, choose a recovery method. If one method does not work well, you can try other methods later. Experienced users can also enable/disable certain file systems for the scan, so that the scan will work faster.
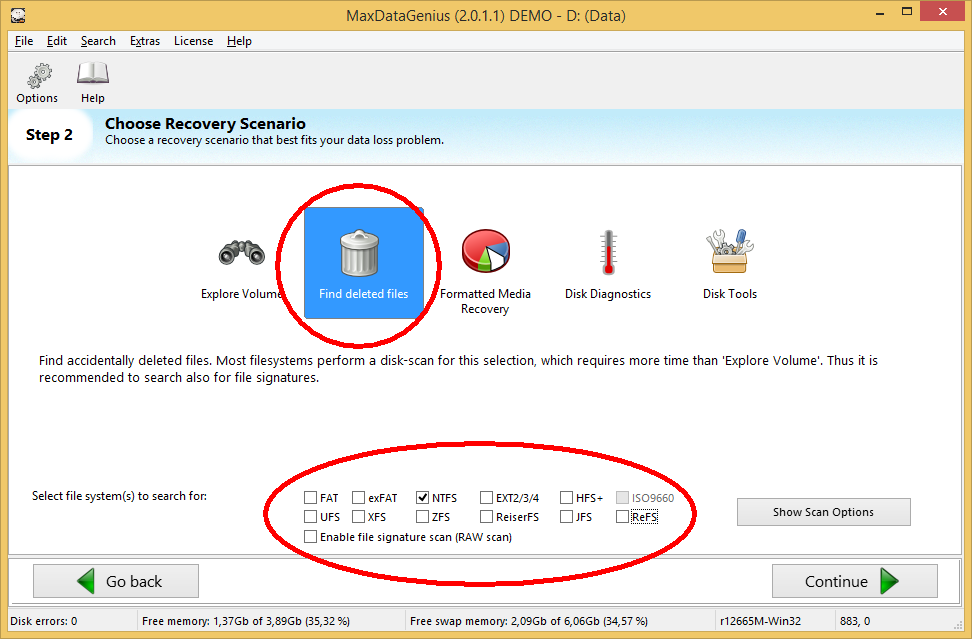
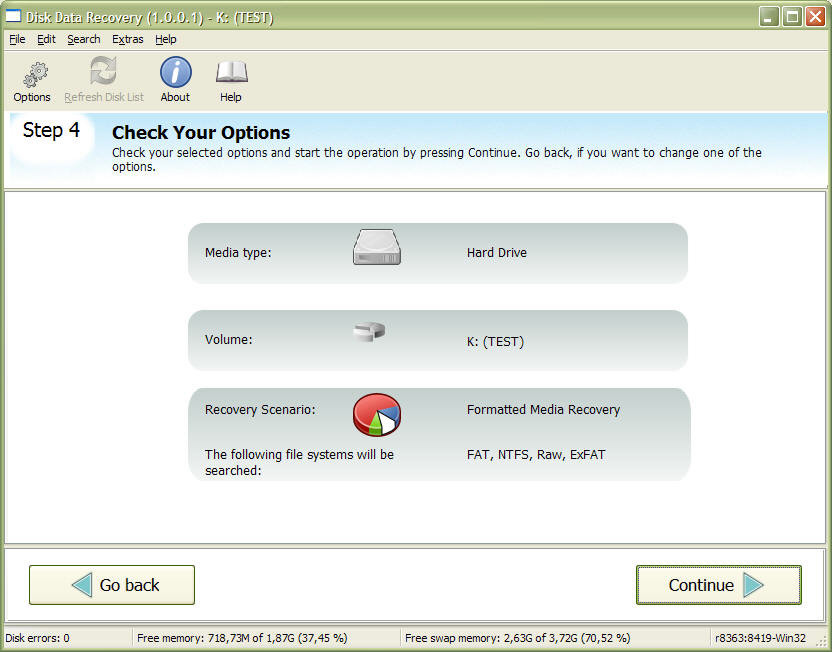
- Finally, confirm your selected options to start the scan.
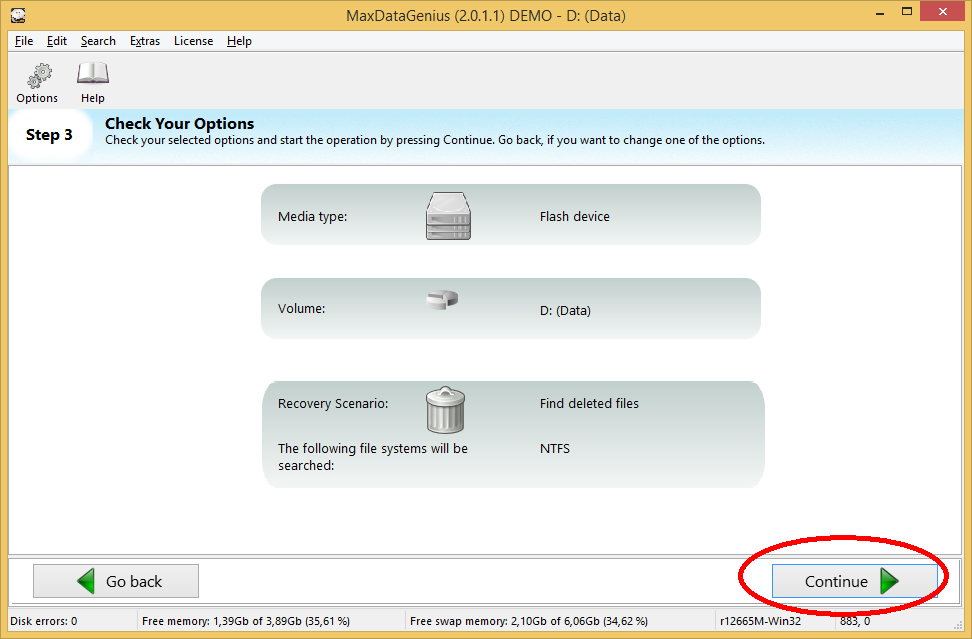
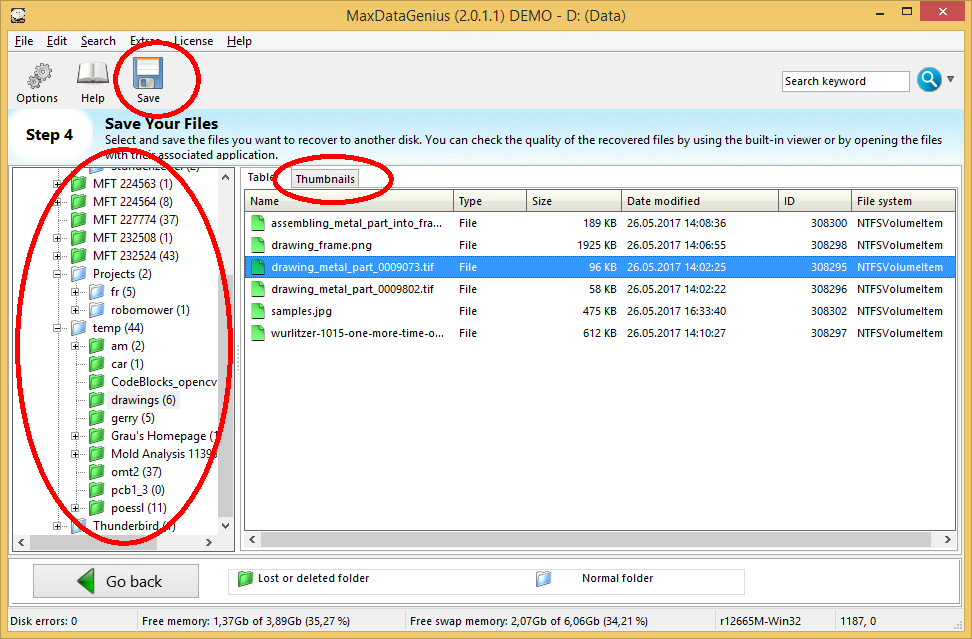
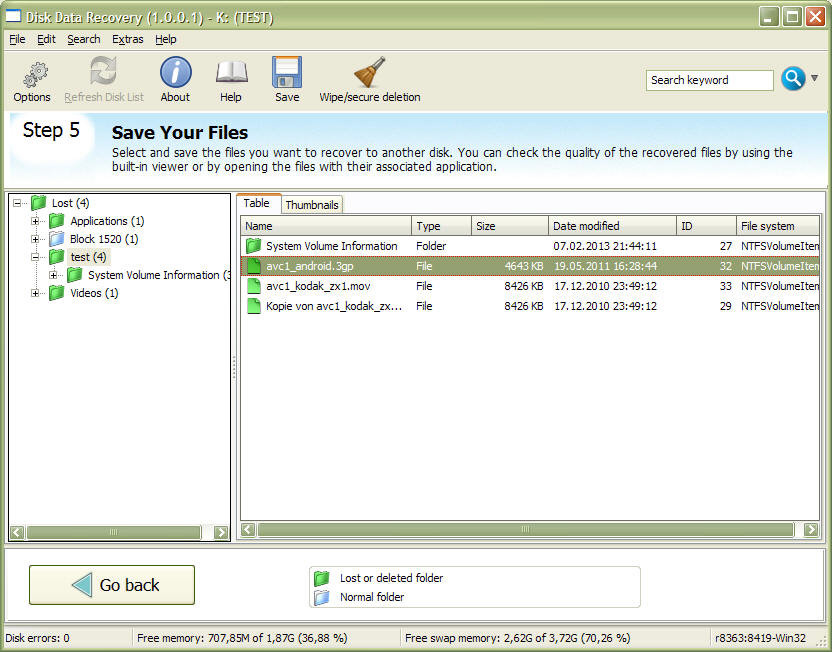
- The scan starts and can take from several minutes up to several hours (depending on the size of the volume and the options selected before). After the scan has finished, select the files (or complete folders) to recover and click on ‘Save’ to recover the selected files to another disk. Click on ‘Thumbnails’ to see a preview of the file.